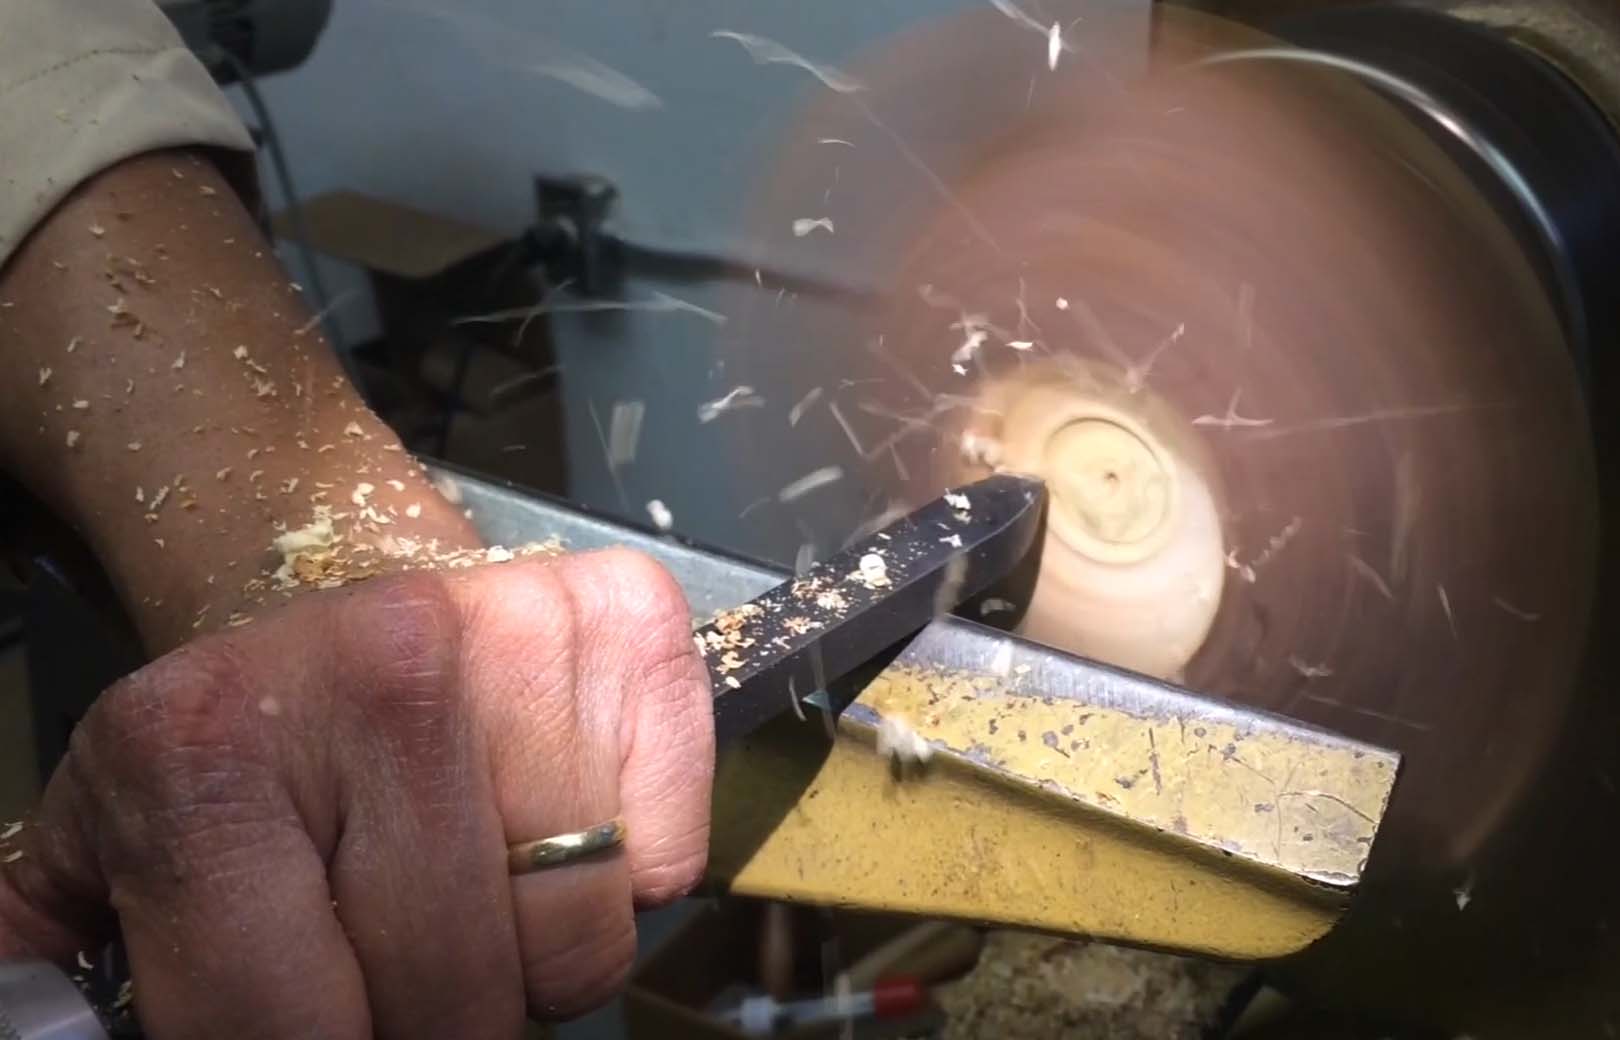

As I write this – on August 2, 2020 – I have been learning fine woodworking for nearly ten years. I live and breathe this craft for at least 20 hours per week. According to Malcolm Gladwell’s popular theory of becoming an expert when you put 10,000 hours into something you do, I should be good at it by now! Lol!
Actually, compared to my early efforts, something I have noticed is that my woodworking intuition and feel for it have become much more refined. I can now see a piece of furniture or a design, and intuitively know what it takes to make it. Technically, I have improved, but I still have a long road to travel to achieve full mastery of this craft.
I am self employed at Nielsen Magic where I make magic props for magicians. I work 80 hours on my average work week.
20 hours are dedicated to do all the necessary tasks of running a small business: Answering phones, correspondence, invoicing, marketing, paperwork, going to the post office and writing blog posts (that I hope you enjoy!)
30 hours are spent in the workshop making the props that we sell. These use all sorts of materials: Wood, plastic, metal, latex, or whatever is required to achieve the effects.
10 hours are spent in continuing education / getting better at my chosen field of magic. I still read the journals, magazines, and from time to time still practice a trick or two in order not to lose that aspect of my life.
20 hours are devoted to what this blog is about: Woodworking – either for personal or professional jobs. This practice which I have done for nearly ten years, means that by now I have clocked the 10,000 hour mark.
Early on, I had (and still have!) a huge bucket list of wood items I wanted to make for the sole purpose of getting better at my woodworking craft: Basic tables, boxes (from jewelry boxes to shaker boxes, etc.), chest of drawers, chairs, desks, wood turnings, and bookcases.
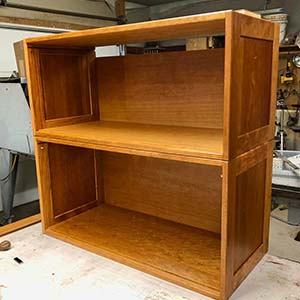
Ah! The challenging bookcases… I have made wall units, tall single bookcases, small practical ones (one which we use in our display booth at trade shows), etc. But there was still a style that was eluding me: A barrister bookcase.
I admit that I did start making one a few years ago, and for various reasons, did not continue the project.
My hesitation changed recently, when I decided to tackle the Barrister Bookcase Project in full. In order to prepare for it, I read every article or trade magazine on these bookcases. I found several solutions regarding the locking and assembly parts so that they would stay together. Last year, a dear friend of mine said: “There is a barrister bookcase project at the Wood Whisperer Guild.” Marc Spagnuolo’s website – www.woodwhisperer.com – is an educational woodworking website where Marc works on various projects and offers instruction in building them.
I looked at his site, and got his plans. His project was quite straightforward, and the neat thing was that the doors did not have hardware! They had pins which ran in a groove on the sides, and he calculated the amount of material so that the doors had clearance and a minimum gap on top. The design was beautiful.
After making a few modifications that would fit my taste – four stacked boxes instead of three, in graduated proportions, instead of the same size; having simpler side panels; using brass as the pivot points, etc. – I followed his construction technique. The other nice touch was his incorporation of magnets on the doors to help guide them in place and keep them neatly closed.
Here are pictures of my progress. It uses basic cabinetmaking techniques but the process gets tricky as one has to neatly nest and fit the boxes atop each other. Exact measurements are crucial since there are several moving parts, and all the separate elements have to fit into each other.
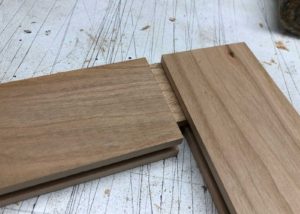
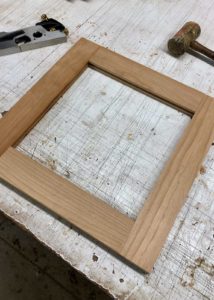
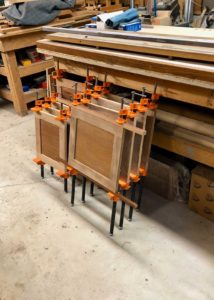
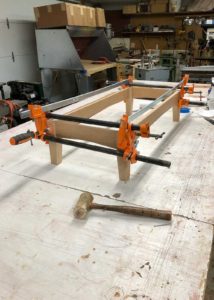
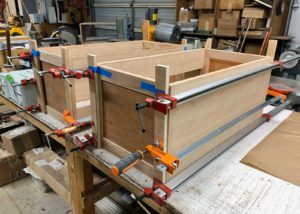
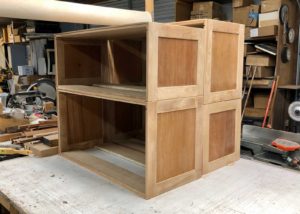
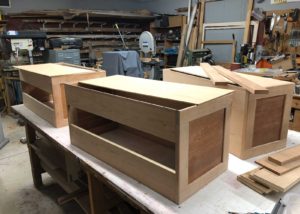
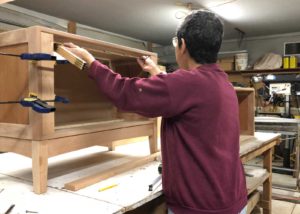
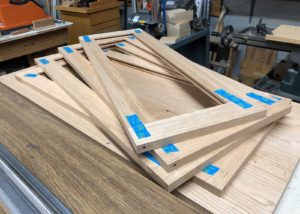
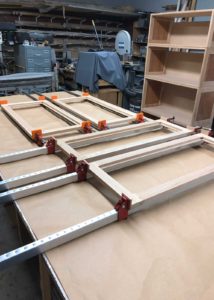
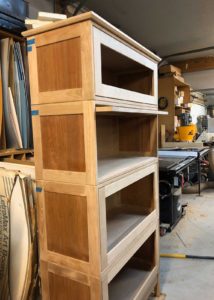
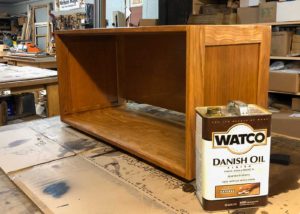
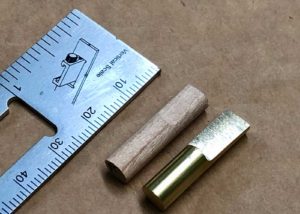
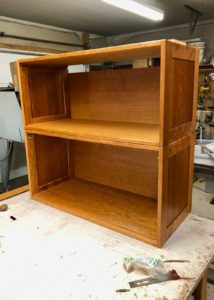
So there you have it! Version 2.0 of my barrister bookcase build.
Since all the steps involved standard cabinetmaking techniques, and I wanted the overall cabinet to be slightly “different”, I decided to add a little twist that would give more character to the piece to fit my personality.
Like what you just read? Stay tuned for my next blog post:
Part 2 – Learning how to work with stained glass.
-Lupe Nielsen
(August 2, 2020)